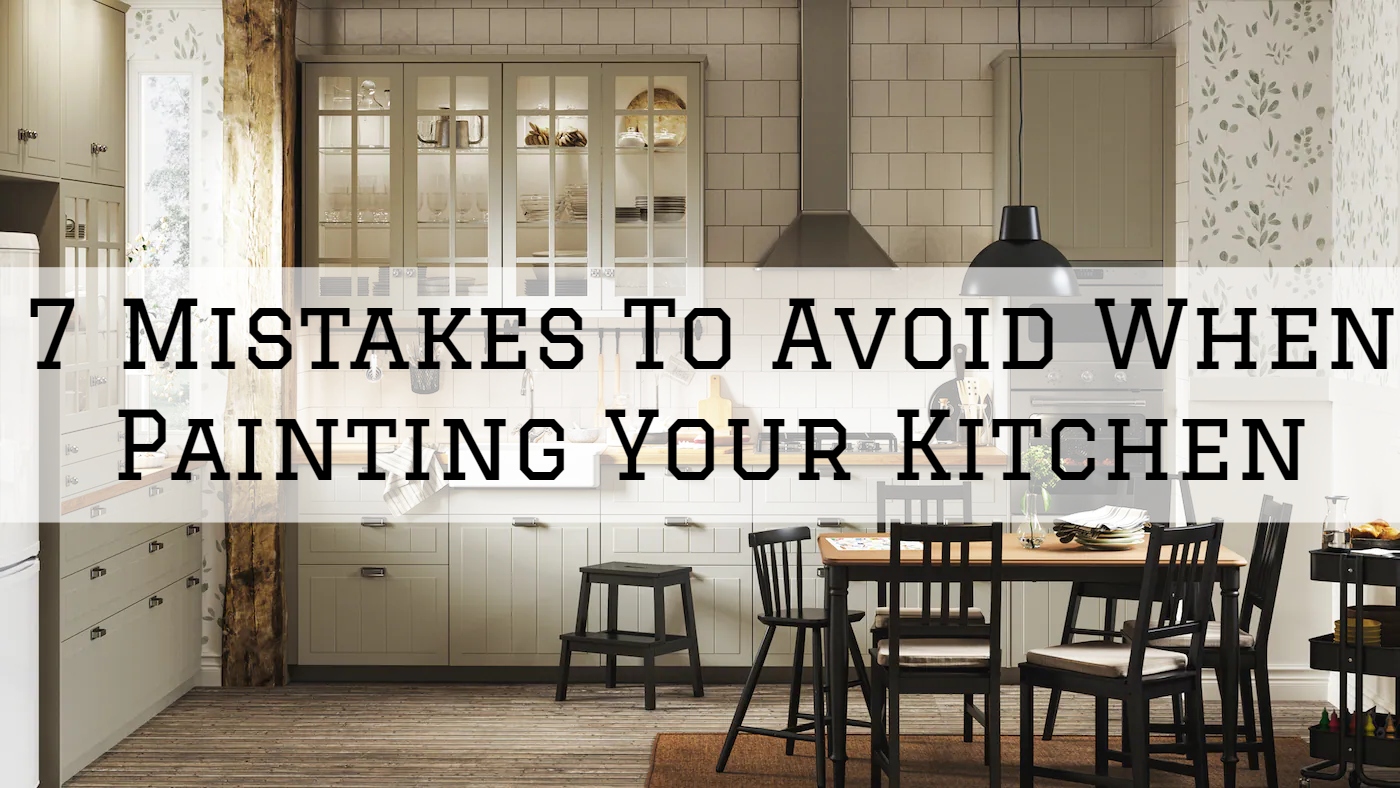
7 Mistakes To Avoid When Painting Your Kitchen in Cherry Hill, NJ
7 Mistakes To Avoid When Painting Your Kitchen in Cherry Hill, NJ
A fresh coat of paint in your kitchen promotes cleanliness and freshness in your home.
However, no painting project is without its challenges; even the most prepared painter is certain to make a mistake, which is why understanding what to expect ahead of time is critical.
With that in mind, here are 7 Mistakes To Avoid When Painting Your Kitchen in Cherry Hill, NJ.
1. Using a Matte Finish Instead of a Glossy Finish
Although there are many different types of interior paints, keep in mind that kitchens are prone to filth and grease.
One of the most typical DIY blunders is failing to evaluate the appropriate paint kind for the job.
That is why, when purchasing paint, it is critical to evaluate the surrounding environment.
The best finish for the kitchen is a glossy sheen because it is easy to clean and wipe. Glossy paint also has a high resistance to dirt and grease, which protects surfaces from smudges and fingerprints.
2. Using Painter’s Tape For Too Long
Painter’s tape is essential if you want clean lines, flawless edges, and professional-looking results.
However, many people have been making the error of keeping the painter’s tape on for too long.
Allowing the painter’s tape to sit for an extended period of time will result in peeling paint when it is removed.
The tape should be removed around an hour after you’ve completed painting, or you can score along the edge of the tape with a razor blade as you peel it back.
You can also use a blow dryer to heat up and remove the glue, then roll it away from the wall using your fingers.
3. Ignorance of the Weather
Before you start painting your kitchen, keep an eye on the weather forecast because paint doesn’t hold up well in severe temperatures.
When there is too much moisture in the air, it takes longer for the paint to dry, and chilly temperatures prevent the paint from drying uniformly, resulting in cracking and peeling.
4. Failure To Clear The Workspace
Your kitchen, where you prepare food and cook for your family, is one of the busiest areas of your home.
So, before you begin painting, make sure to clear the work area by eliminating any things that may obstruct the painting process.
If you don’t clear the area, it will be difficult to move and, worse, paint splashes and drips will destroy other materials.
5. Ignoring the Priming Process
Another common DIY blunder is omitting the priming step, which is essential in a kitchen atmosphere where many substances can damage surfaces.
The primer contains a glue-like basis and aids in appropriate paint adhesion; failing to prime can result in peeling paint, especially in humid situations.
However, not every paint requires priming; if the state of your walls and ceilings is still acceptable, you may proceed to paint.
6. Using Substandard Materials
When you’re trying to save money, you can go for lower-quality paint and materials.
However, this is one of the most common DIY blunders, as inferior materials can have a significant impact on the final finish of your project.
Although some may believe that high-quality materials are prohibitively expensive, using them promotes less maintenance and can save you money in the long term.
7. Begin by Painting the Sides.
It’s important to note that painting the walls first isn’t a good idea in any interior painting endeavor.
Because if you paint your kitchen ceilings, you’ll almost certainly have to repaint the walls due to paint drips and splashes from the ceilings.
As a result, you must remember that when painting, the ceiling must always take precedence over the walls.
If you’re looking for a trusted and reliable residential painter in Moorestown, Mt Laurel, Cherry Hill, Haddonfield, Voorhees, Evesham, Medford, Tabernacle, Shamong, and the surrounding areas, we can help.
Call us on 609.953.0944 for a FREE, no-obligation estimate.

